
In this guide, I will show you how to install XILINX ISE 14.7 on Windows 10.
Step1: Go to the XILINX official website and click on the XILINX ISE WebPACK design software link.
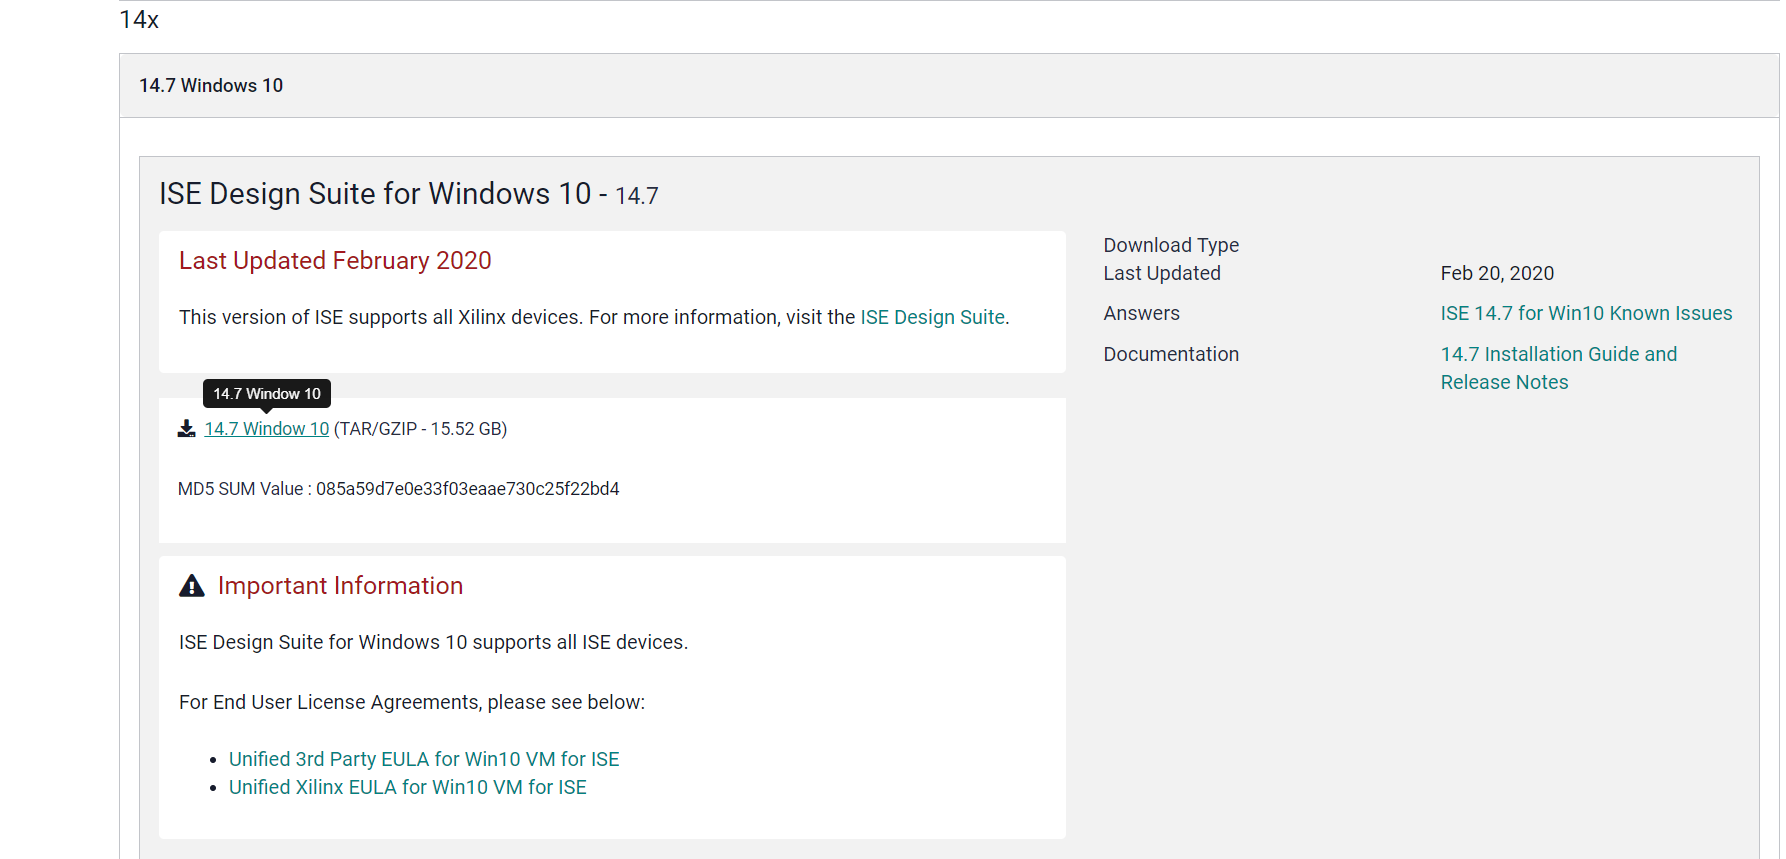
 Step 2: Click on the Download and select the 14.7 Windows 10 edition.
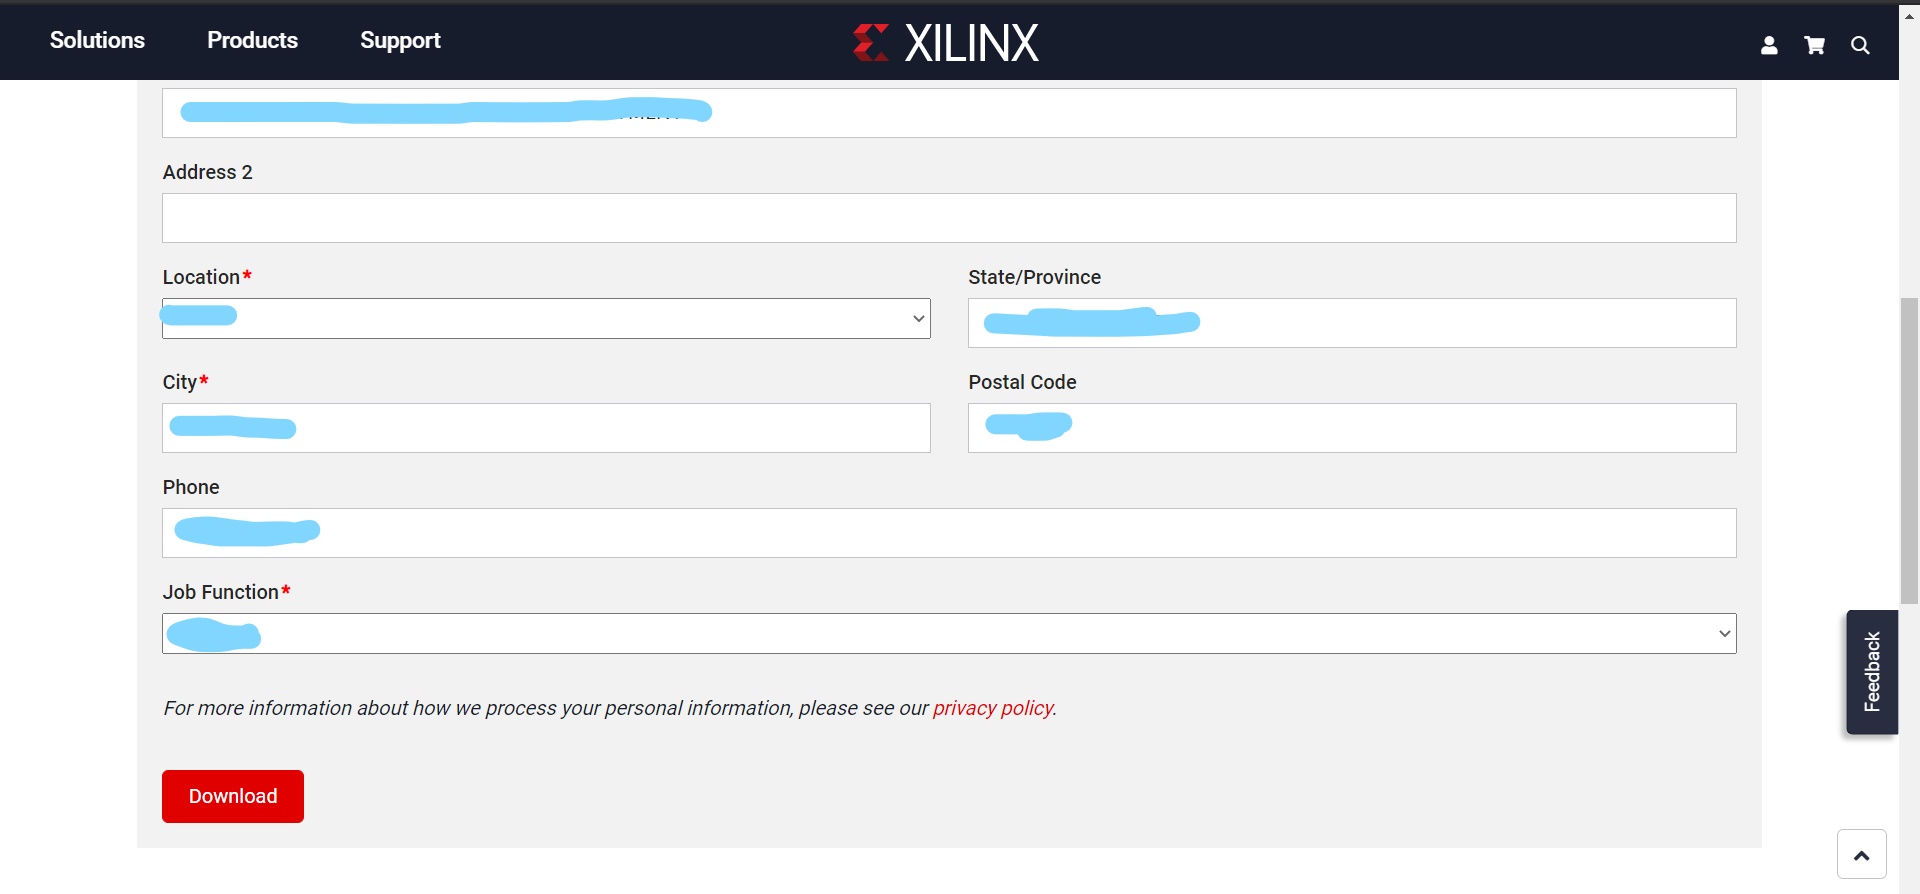
Step 3: Sign in with your Email id and password and fill up the agreement to begin downloading.
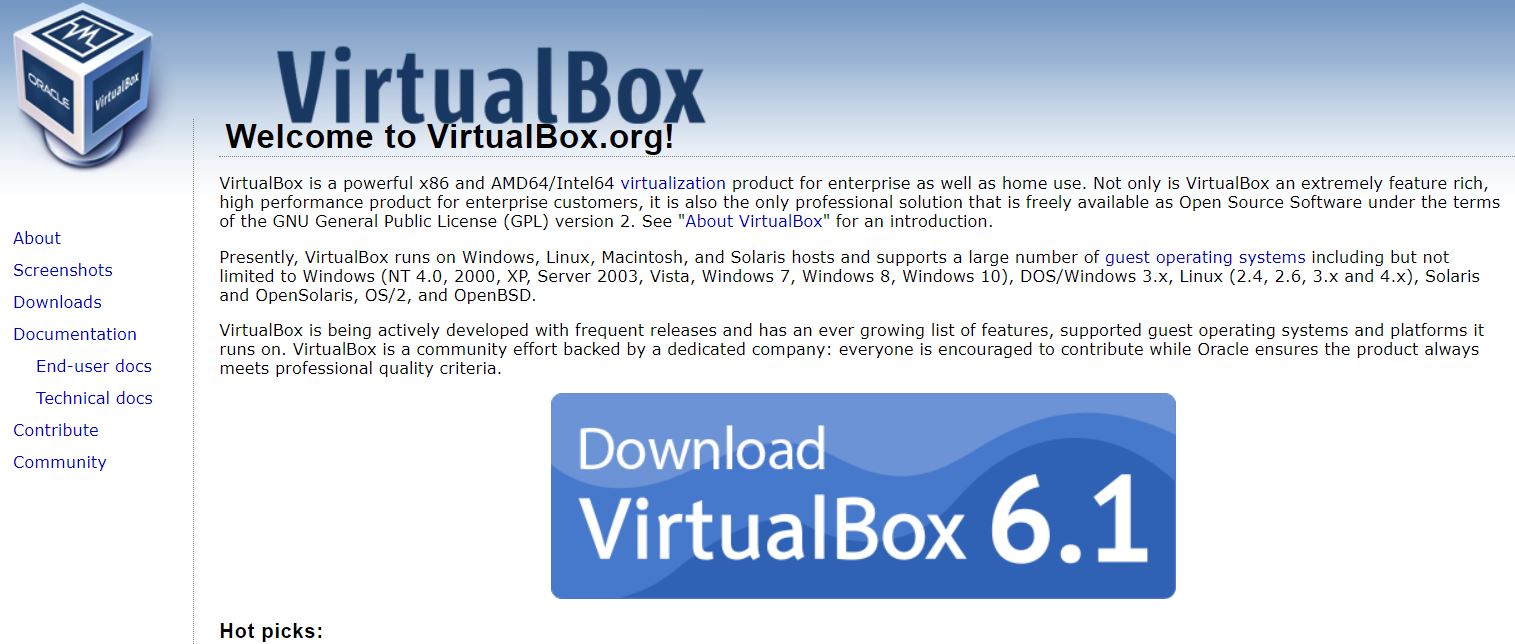
Step 4: After the download is started, we need to download a virtual box called Oracle VM Virtualbox (the driver which helps in detecting the FPGA works best on Linux or Windows 7 so we use a Virtual box). Download the latest version of the tool depending upon your OS.
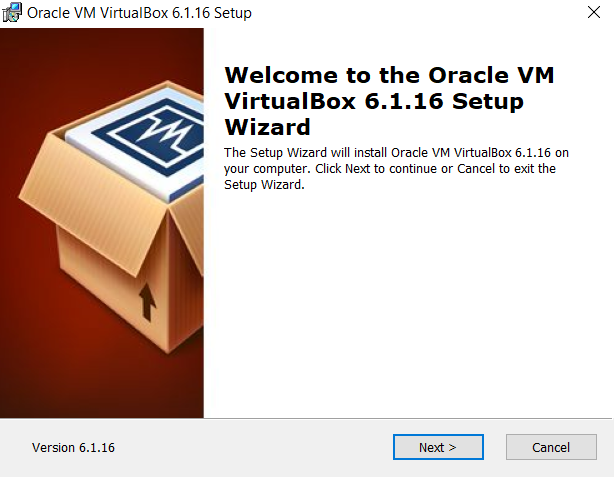
Step 5: Launch the VirtualBox installer and click next.
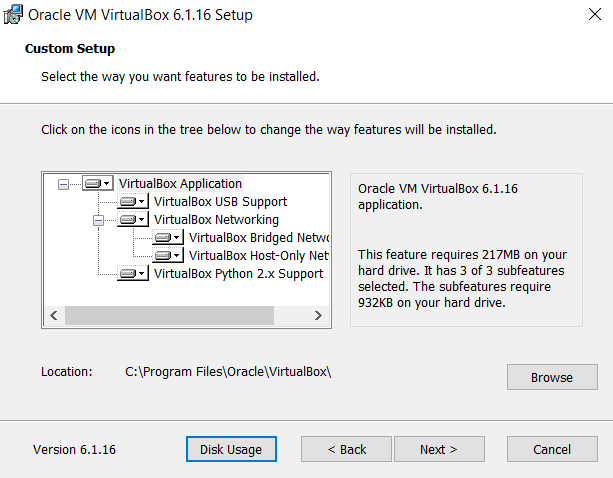
Step 6: Select the installation directory and click next.
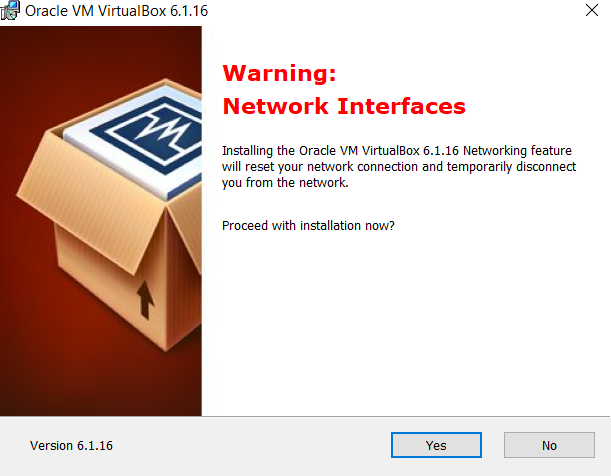
Step 7: click next on the next window and after that window, there will be a warning on network interfaces so click yes.
Step 8: On the next window click install and installation will begin. after the Virtualbox is installed don’t change any settings and begin the installation of XILINX ISE 14.7.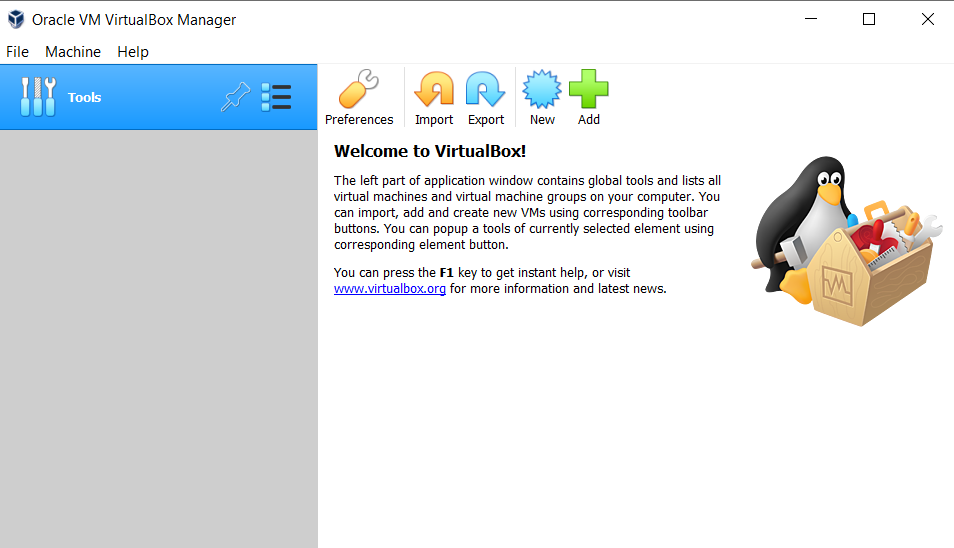
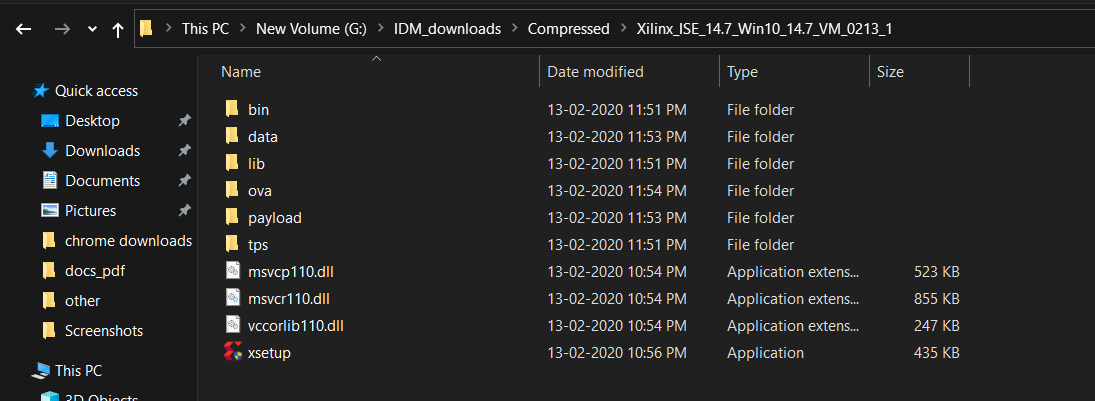
Step 9: the WinRAR tool can be used to extract the ISE setup then and double-click the xsetup.exe file.
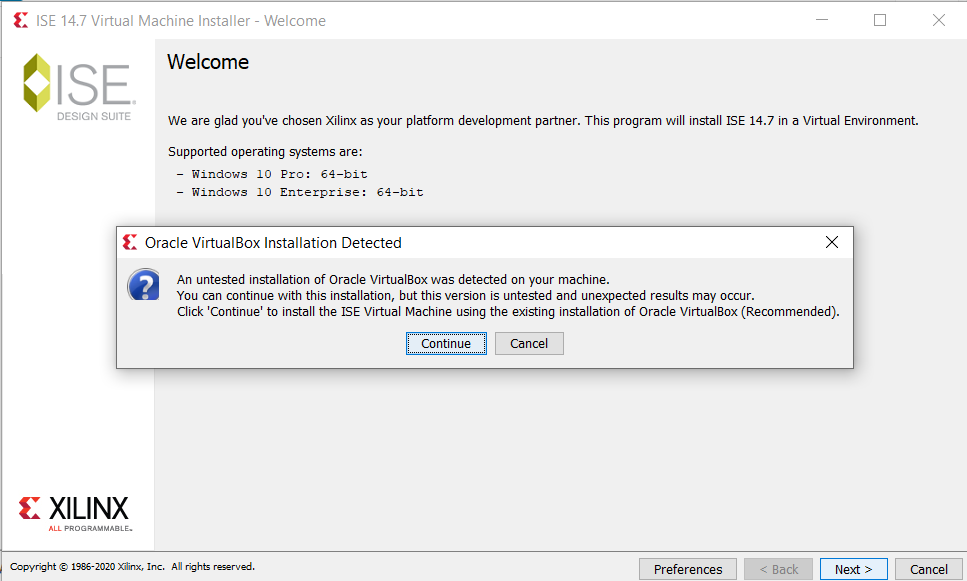
Step 10: Allow access to Java(TM) Platform SE binary then a window will appear for ISE 14.7 Virtual machine installer. Click next on that window. Then a pop will appear saying “Oracle VirtualBox Installation Detected” (you can refer to the manual on Xilinx to check the supported versions of VirtualBox but the latest versions work fine as well). Click continue on that pop-up.
Step 11: On the next window accept the license agreements and click next till you reach the “select destination directory” window. In this window select your preferred drive for installation and select a directory to share with VM. (This directory will appear in your virtual machine for sharing the files between VM and Host PC). Select the path and folder based on your storage available, Then click next.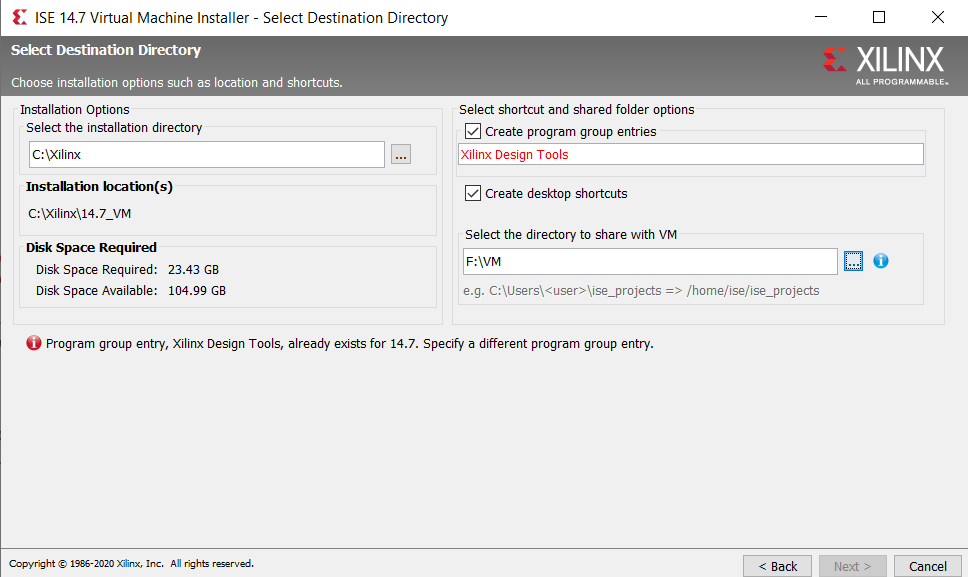
Note:- If you get a warning like shown in the image above then uncheck the create program group entries.
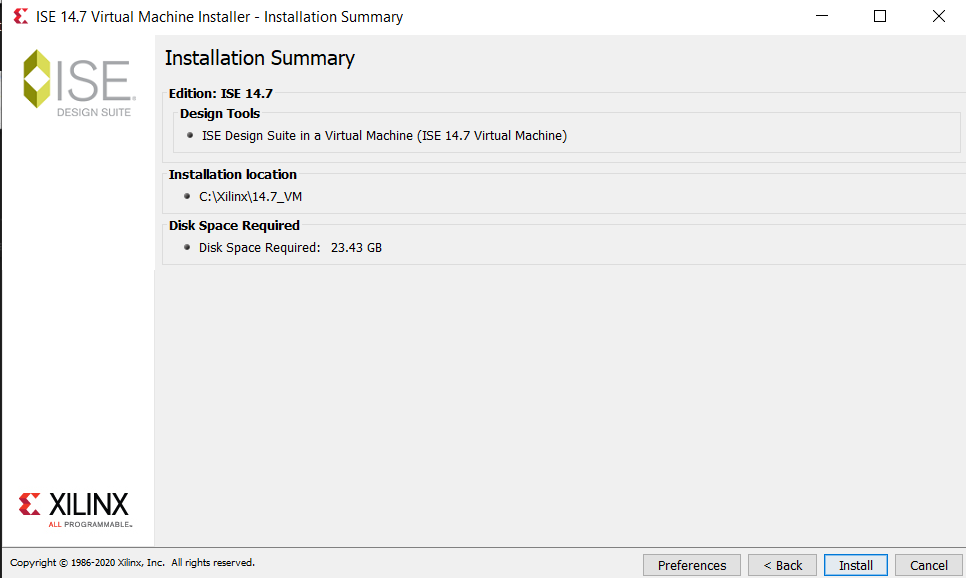
Step 12: On the next window click install.
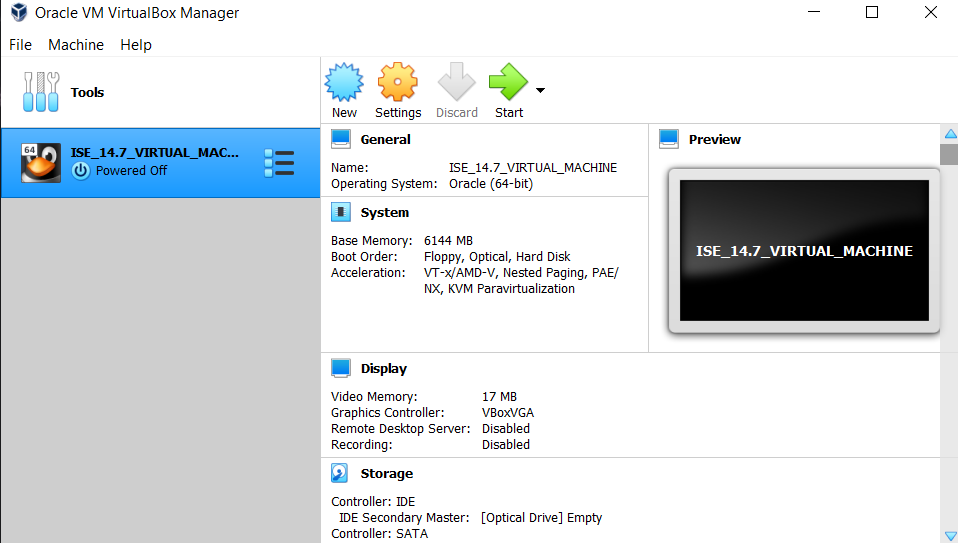
Step 13: Installation will take some time. After the installation is finished you will see “ISE_14.7__Virtual_Machine” added to your Oracle VirtualBox.
Step 14: Double click on ISE Virtual machine, You will see the Linux OS is loading and the home screen will open. (Ignore the auto-capture keyboard and mouse pointer integration).
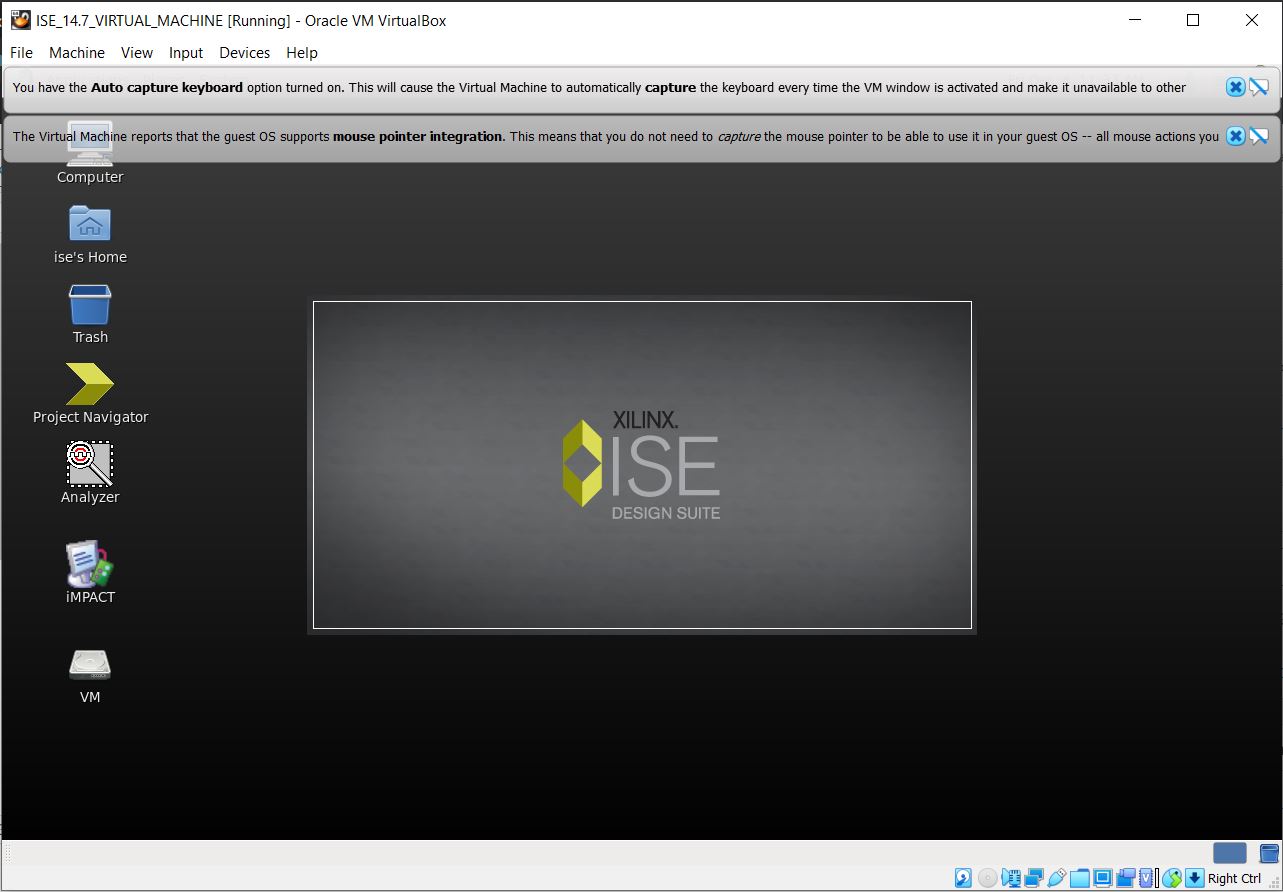
Step 15: Double click the project navigator, the ISE 14.7 tool will start.

Step 16: Create a new project and you are good to go to start writing and synthesizing the modules. (For licensing guide click here to get a free license and how to load the license inside the tool).
Happy coding;